Tuesday, 6 July 2021

DIY jobs


What to do when you can’t work on the car.


During the last month I have been quite busy doing bits and pieces generating things from ideas and items I have in the garage and my wood pile that has to be replenished from feeding a chimenea. This last Monday I spent a day at Hampton Court Flower Show. It was the preview event where you rub shoulders with celebrities. I was in gardening gear whereas Gita set the stage with wearing a green saree with matching highlights in her hair. Always the star and with such grace.


 Sadly what promised to be an entertaining day ended  when the rain set in and we could no longer bear the weather and headed for home early. We did our best to watch the live band doing their show and we huddled under a car rug to try to keep warm and dry but got too cold to stay around to the end. Other than this second adventure to explore the world beyond our local Tesco we had a trip to Lidl’s for a change. On that day they had Sail Shades for sale. I bought one along with a table vice. I had an idea to use something similar to shade our garden but was not able to work how it would be erected or secured without using an umbrella pole to get enough height to be usable. The answer was not to have one pole but two and the sail shade started the evolution of ideas and construction.


 The sail is an elongated hexagon with holes for the poles at the furthest points and guide ropes all round. There are pegs with the shade to secure it. When you have a hard surface pegs are not much good so you need to use something else. I used an eye rawlbolt in the wall of the house and an eye screw in the post at the end of the garden. The side mounting guide ropes were to special brackets with eye bolts in that fitted into slots in concrete fence posts on one side and using existing dexian brackets the other side. One more bit of construction was to make custom length bungey cords. To finish off 6mm snap hooks were used to aid quick fitting of guide ropes and a way of getting the right angle and tension on them. The last mod was to use extension tent pole to get a bit more height in the middle. I have set it up to be able to erect it with a few minutes on my own. It takes two people if you need to peg it down.

Another DIY was to make a drain cover to hide waste pipes and keep a small dog from going where it shouldn’t all achieved from discarded wood and recycled with a coat of fence paint to smarten it up.


 The last thing needed a visit to the local shoe repair shop for a few inches of stitching.  My ancient coin pouch had fallen apart from old age although I had bought a replacement some time ago it wasn’t quite the same as it did not have two slots for credit cards so a bit of stitching to add the two card side to the new pouch meant a three card wallet was made.


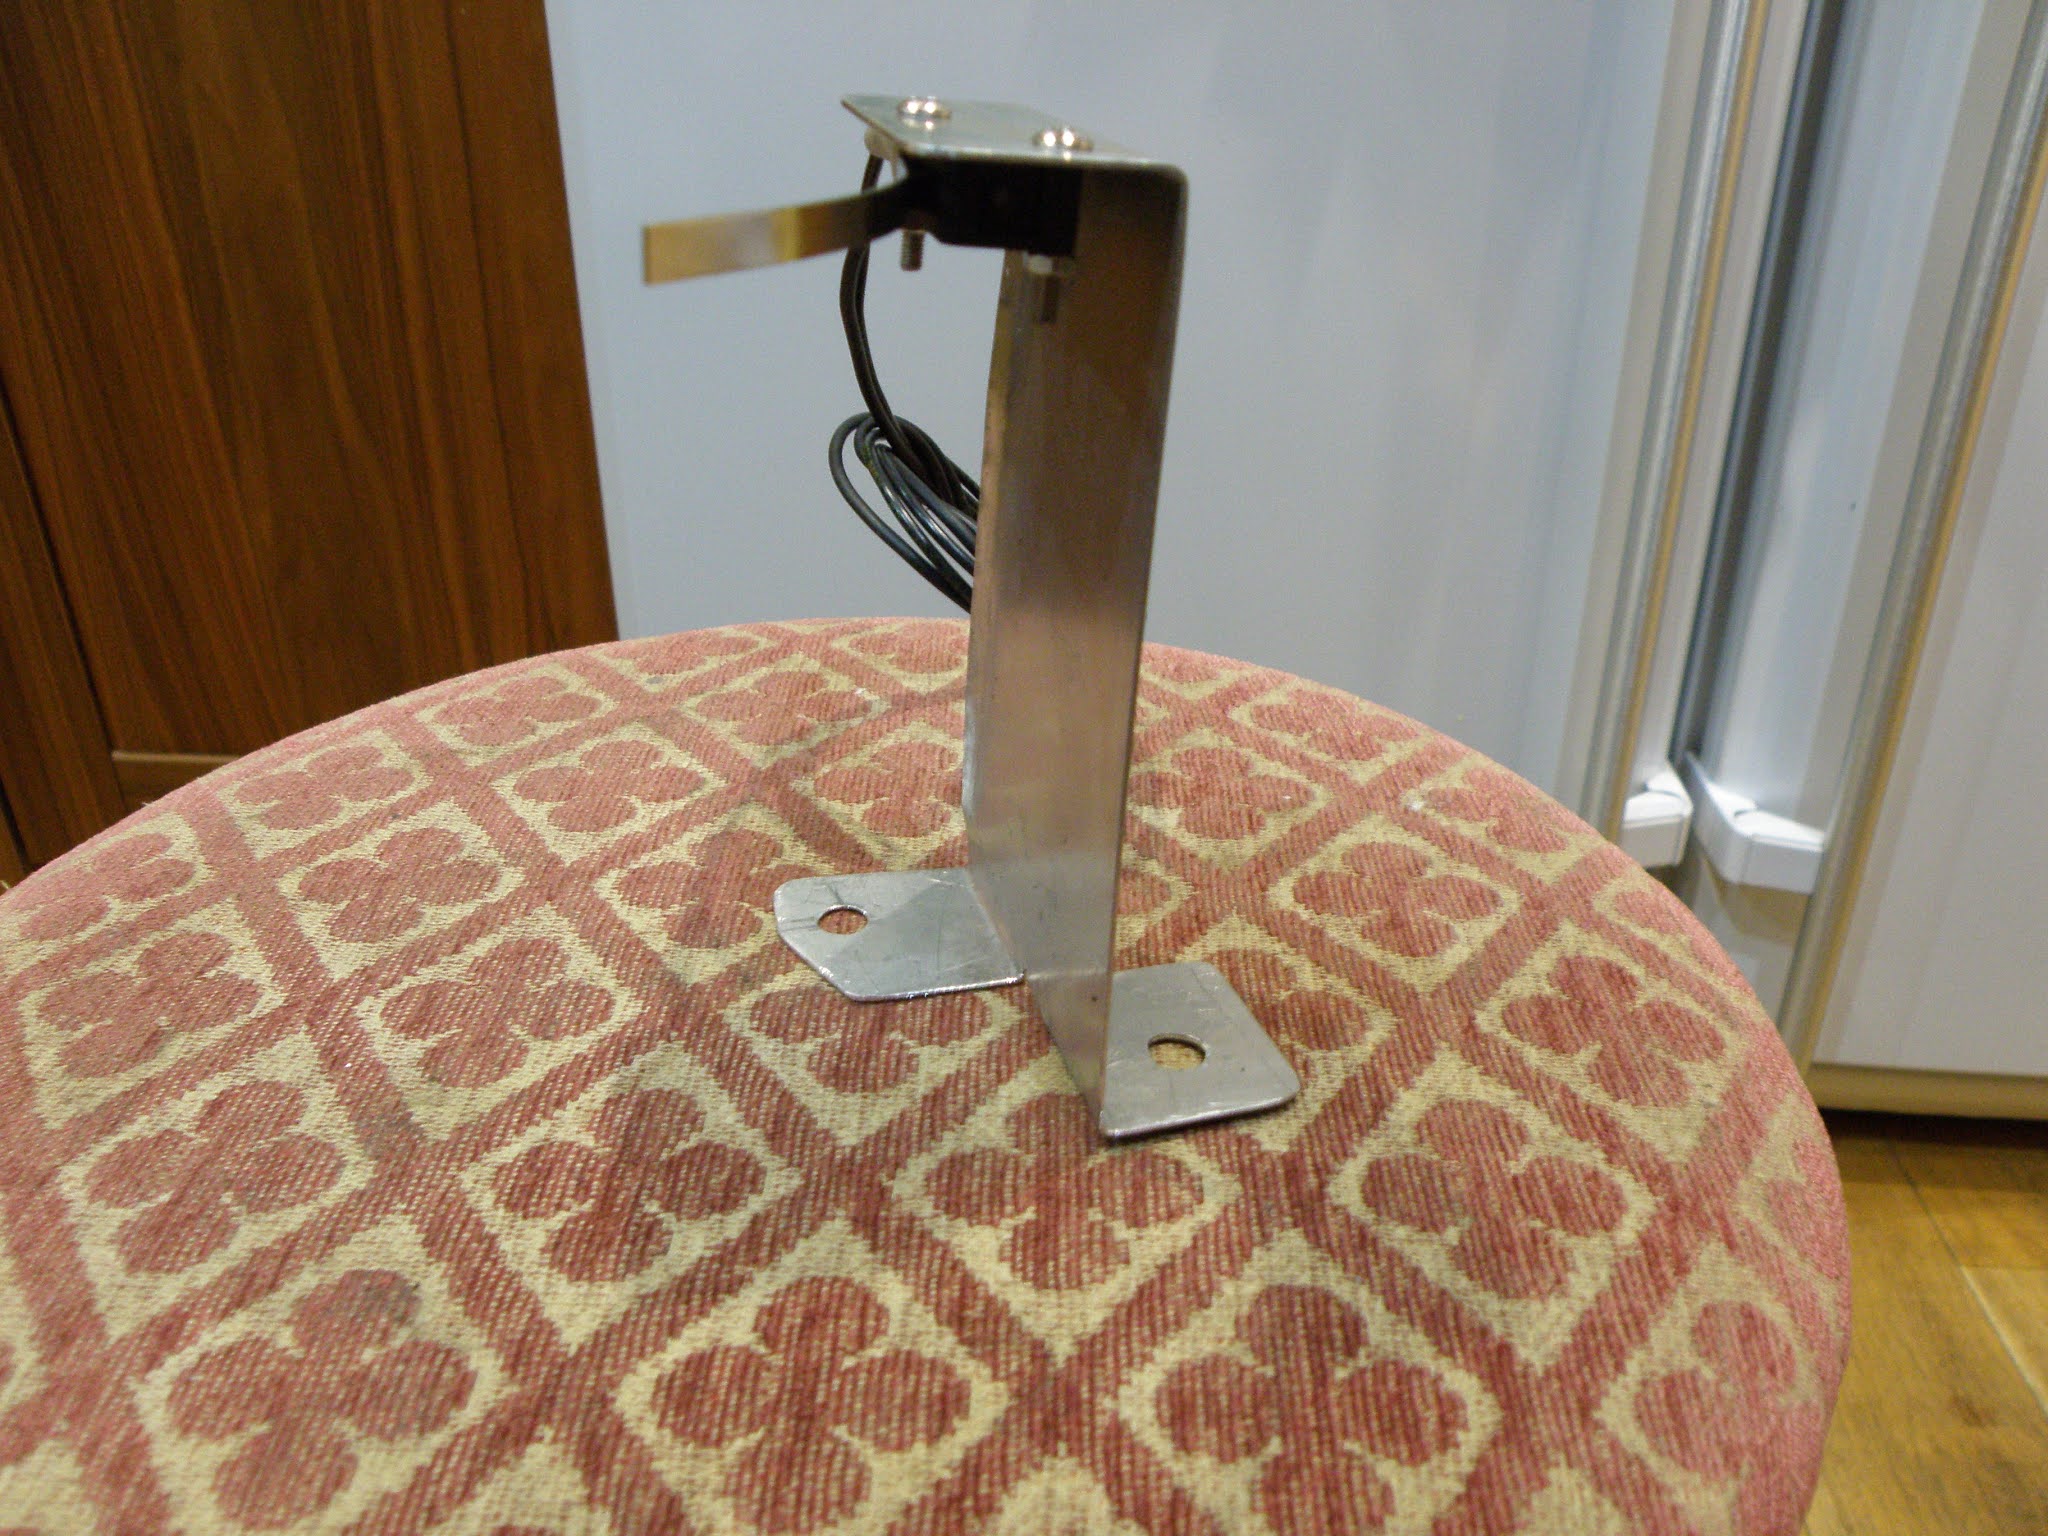
 Just what you need for travelling. All you need in your pocket, with cards coins and notes securely folded on together. The last thing was to make some latches for my water tank base front. It had been falling off at any gust of wind so I wanted to make something that was a bit more secure and came up with this idea.


Friday, 11 June 2021

                Speedway with the Kent Kings.

I was given stickers for the Kent Kings and Royals when I visited The Paradise Wildlife Park at Broxbourne at the Celebration of Speedway in February 2020. I was there in support of the display of Jim Tebby’s bike that is on loan to Whitewebbs Museum of Transport by the Crosby Family after the London Motorcycle Museum closed in October 2019. It was there I had an invitation to go to a speedway event to see the Kings in action. Covid messed up everyone’s plans and I have only just managed to get there. Tuesday June 8th was the day tickets purchased over the phone and collected at the gate. Gita came with me to experience the thrills and spills of an evening out on a warm and sunny day. We went in the Burton for 200 mile round trip via Eltham to visit our son for a break in the journey as Sittingbourne is some 90 mile drive from home.


 Central Park Stadium is the home of Kent Speedway it also supports greyhound racing as well as stock car racing. It used to be a football stadium until the club went bust and it was sold to the current owner. I met the manager when going in and he seemed to recognise me. I didn’t recognise him but when people are wearing masks it takes me a long time to work who they are. We had not met before. I am not surprised as it seems that I have a clone in every town in the country. We came prepared with chairs and water but no food that was supplied by a burger van on site. Having been suitably sustained the event kicked off at 6:30. Heat one started and stopped almost immediately and then we were in heat two with not even one lap completed and the rider in third position had a spill and the rider in fourth ran into him. Someone was injured requiring the ambulance to come onto the track. It took some time to get the injured rider sorted. In the mean time a tractor towing a rake was grooming the track providing something to watch. The rider had a foot injury and that was the end of his evening. Now things were hotting up with Scott Nicholls and Craig Cook duelling for wins with Broc Nicols of the Tigers being top scorer for the opposition. Scott Nicholls being top scorer for the Kings with 19 points. 


The Kings ran the Tigers closely until the mid-point but could not withstand the pressure losing 39 to 51 at the end. It was an enjoyable evening only marred by the tannoy system that garbled the sound in the arena. I have put together some pictures and a short video to give a flavour of the evening. If you can recognise who is riding let me know. Scott Nicholls is no 1 with Red colour to his helmet but was Blue when being a substitute. Craig Cook also no1 with White helmet colour. Broc Nicol no 2 was White and Yellow depending on grid position so without a clear tannoy I had no idea of who was riding but I still enjoyed the spectacle as our first public outing.


Friday, 21 May 2021

First Outing of the Year


First Outing of the Year.


I had checked over the Buell the previous day. It had been any distance for weeks. I was also rusty from encarceration and knew I had lost the edge on dicing with traffic and filtering. This was an outing to Jack’s Fish and Chips in Bagshott meet up with fellow members of  our local LE owners club and then on to John’s home a few miles away to enjoy the takeaway and listen to hear his presentation on Riding in Thailand. Those who know Jack’s on a Wednesday lunch they do pensioner rates and is always busy with motorcycle clubs so a good choice to meet up and what bikes are of interest today. John was there on his Valiant and Antony in his car a Fiat 500. 


There was a good collection of bikes including a little Ducati desmo single, a Harley 45, a Norton Dominator, a Gold Star and riding in a new Brough. It sounded new, the exhaust was modern it needed a retro exhaust note to go with it looks. After about an hour we collected our take away and went back to John’s place in convoy.

John did a very good presentation covering his travels and experiences on his two trips that were several years apart. The changes were quite dramatic from dirt roads to perfect tarmac and the increase in commercialisation and tourism. His first trip was done on a Honda 250cc trail bike which was more than capable of coping with the conditions. The second trip was on a Honda 500 with some luggage capacity as he was travelling on his own.

A very pleasant couple of hours were spent before it was time we went home as Antony and I went for the M3 to compete with the traffic and I was able to have a go at doing some filtering on the approach to a roundabout. It didn’t take long to get home but I could have without the couple of squally showers on the motorway. Really great to do be doing something normal again.

Just an update with the van as I have now fitted the driveshafts and wheels and got rid of the old chassis. I had my angle grinder die and had to buy a new one before I could complete the sectioning. A passing scrap merchant saw the bits and kindly took it away saving me a trip to the trip.

 Inspired by my trip out I wheeled my LE out of the garage checked fuel, oil and water, turned on the petrol tap and the choke before priming the engine with three  kicks the ignition on and it fired up second kick. This has now prompted me to charge up my Valiant battery and get that one running.


Tuesday, 11 May 2021

Le Petite Van Gris Part 7


Le Petite Van Gris Part 7


All I seem to be doing is bits of maintenance whether it’s batteries on the bikes or cars and greasing kingpins because there are few places to go spontaneously and by the time I’ve made a  decision the weather has changed and it’s raining again. I have completed fitting the rubber bib that protects the ignition module from the weather on the van engine. Now that is in place I have fitted the fan and front shield. The next job on the engine is to replace the spigot bush on the other end of the crankshaft behind the clutch. I’ll do that after I’ve done a stand up job for a bit.

 I had a problem with a close coupled toilet leaking dripping quietly at the back of the toilet water running along the grouting until it disappeared down a crack in a tile. Never enough to wet a tile but when I investigated there as just a little dampness running down the back of the toilet base. Easy to fix, so I thought. I removed the cistern and replaced the seal. I put it all back together and it still leaked. There are two nylon retaining bolts that fix it to the base. I’ll just add a little more pressured to the seal. I did and suddenly there was an explosion and water everywhere. The cistern had cracked and what water was in it ended on the floor. I am now replacing a not so perfectly good  toilet suite. I am also replacing the cracked floor tiles  and generally making the bathroom tidy again. I’m still searching for a stand up job so working on the van I decided to move the body on to the new chassis. 


A two part job in that I jacked up the new chassis to the same height as the old one so that I could slide one over to the other. Cunning plan and finally achieved it but it required jacking up the van back by six inches to clear the sides below the floor level and suspension cross members. The cab only needed to be high enough for it to slide on planks to get it across. It took all day slowly, slowly checking it was safe to do the next few inches. When the van back was in place I removed the blocks of wood that had been used at spacers to let the body sit on the chassis. 

What a fit, it sat fairly and squarely on the chassis. I had no room to fit extra wooden batons as an interface for the glassfibre on metal as planned. I would only be able to use the compressible  foam strip instead. The cab was less of a problem and in comparison was done quite quickly. The cab was bolted down with just a few bolts and the van back was reunited with the cab using 50mm M6 bolts. It is fitting well. I have fitted the 6 outriggers to support the floor where there is no chassis at the rear. I have yet to work out if I need support just in front of the rear suspension cross member but the floor does seems strong enough as it is. My last job we to disassemble the old chassis by taking the suspension off to store it for a later project and the old chassis sits on the ground under the van out of the way.


While the wheels were off I tried the spare fitting moulding. 125 x 15 sized wheel and tyre fit perfectly but my choice of tyre will be 135 x 15 so there is a bit of a fix needed to secure the wheel in place through the centre hole. Other bits  needing attention was to refit the rear door along with the cab doors and put in the aluminium fuel pipe that links up the fuel tank to the original 2CV pipe. When I chose the pipe size it was recommended 7mm but 2CV is 6mm so an adaptor was used. It is only from the tank to the chassis that is 7mm with some proper pipe clips to make it smart. Currently in my thoughts are how and where do I fit the fuel line, brake pipes and the harness for the electrics.

Friday, 9 April 2021

Le Petite Van Gris Part 6


Le Petite Van Gris Part 6


It has been two months since I have posted anything but life still goes on as soon as lockdown relaxed I was out on the Kawasaki to get the cobwebs blown away. I feel rusty, jaded by being at home since before Christmas. Stir crazy comes to mind. The less you do the less you are able to do. The fear of going somewhere stops you from going until just going anywhere is a challenge. It is a mindset that has to be conquered to move on. The ride out on the Kawasaki was the first step the second step was with Gita on the back the next day. I have met the first challenges to escape confinement and Covid to build confidence to explore a new year in our changed world. Some things have not changed I still have trouble getting grease off my hands as I have used  a couple of 400grm tubes of to pack bearings of suspension arms and track rod ends during assembly. Covid has sucked all the disposable gloves out of the system and those that are available are far too expensive offset against the extra soap used. There is a bit of a tale to tell during these last couple of months. This begins with the moving of the van and the repositioning of the chassis making room to work on it.

 With the chassis in its new position I could start to assemble the suspension. First was to fit the outer part of the taper bearings into the suspension arms in the first stage in the assembly. After fitting the eight outers into the four arms it was enough for one day. The next was to fit the cross members to attach the suspension arms to. This is where I hit a problem. I uncovered the chassis for the first time in months and found below the plastic sheet the galvanised floor had some corrosion on it. It had got wet and dried the corrosion was a lovely white powder so I bushed it away with my leather work gloves. Cleaned up, I progressed to fitting the suspension cross members. These are located on lugs so a tight accurate fit. These are special to the Barbour chassis as they are strengthened and have an extra chassis bolt at each mounting. During the day I fitted one of the rear suspension arms. 

To do this I fitted the outer seals and the remaining taper bearings to the cross member tightened up with the massive castellated nut. I called it a day at that point. I didn’t know then how toxic the innocuous white powder was. Cleaned up and showered I was ready for some Saturday relaxation. A nice meal and some wine before an early night. I was quite tired. My last conversation did not make any sense. Words didn’t sound right to me or anyone listening. It was put down to tiredness and I went to bed.  Next day I wasn’t any better I had trouble saying certain words and voice had no power. Had I had a stroke? I didn’t think so, just poisoned! Monday had the other suspension arms fitted and used all my stock of grease. I ordered more grease and more steering parts from ECAS. I would not be able to do much more on the suspension for a few days until the parts arrived. In between time I fitted the front engine cowl and the rubber bib that covers the ignition unit and the damper mounting bolts to the chassis and the track rods. The delivery contained new track rod ends so I assembled them with new shields and again plenty of grease. I fitted the track rod end assemblies to the hubs approximately set the tracking using the Burton special adjusters. They are nice to fit and use. It is quite easy to make fine adjustments with them.


In between all this I am still having trouble saying sentences that make sense. The words don’t sound right or have the correct pronunciation but it is improving. I have odd feelings in the skin on my face. A transient numbness that goes away as quickly as it arrives staying long enough to be noticed. There are some things on the internet about zinc but they are for those who take it as a supplement orally and not as an inhaler. The concentrations are a little different and so are the effects.I have grease. I can now assemble the drive shafts. This becomes a six day struggle to fit the constant velocity joint and drive shaft gaiters. The heavy duty neoprene ones are tough to fit. I fitted the constant velocity joint ones first. Removing the grease nipple to make it a bit easier and also a plastic cone to force the gaiter onto the shaft more easily. When I got to the middle gaiter there was no way that could be coaxed over the splines of the outer driveshaft. It took a couple of days to come up with a solution. Finally it came to me. Plenty of WD40 and using my socket set I managed it. Using the log extension clamped in the vice I pushed through a 13/16 socket followed by a 22mm one and then a15/16. When the 15/16 was in place I pushed that one out of the way with the splined end of the driveshaft and then pushed it over the length of the spline. It was much easier to fit it to the larger end that goes on the larger inner driveshaft end. All the gaiters were secured the original type of clamping strap to finish off not to mention everything was packed full of grease on the way. 

The last bit to get really up date all the family said I needed to get checked out to make sure I did not have a stroke so I contacted my GP who referred to hospital straight away. Knowing my situation I went the next day prepared for a long stay. I checked in and triaged, blood was taken for testing and then referred to the real A&E side to be looked at again. It was decided that I would have a CT scan and was put in the line for processing. Five and a half  hours later I was released with a clean bill of health and a promise I would get better, if albeit slowly. It only confirmed my own self diagnosis of zinc poisoning. I’ll not do that again.

Monday, 1 February 2021

Winter Blues


Winter Blues.


January 2021 has started quite depressingly. The weather has not been kind and the lock down from Covid virus has not helped. I didn’t write anything in January although getting on with bits and bobs with the van has been heavy going being so cold and wet that I have not been able to get out and do much however I did receive a delivery of parts from Louis for the van via Rick Pembro who has done two gearboxes for me. A standard one as a reserve for my other 2CV’s and a hybrid one for the van with 15% lower ratios to improve the off road qualities and pull along the extra weight of the van. In the delivery were a pair of front swing arms and ball joints all reinforced for off road work and a box of bits like a reinforced battery box in and surround stainless steel. Looks like it is the strongest part of the van.


This current project is moving the handbrake mechanism from the left of the central gear lever to right of the gear lever. Citroen in their wisdom only ever had the mechanism on the left of the car always making it a struggle to reach. I was hoping just to bolt the chassis mounted lever to the right side but had to stick with the original mounting position where there were purpose built mounting brackets. When you have nothing fitted inside the engine compartment there is a load of space and when you are doing something different frequently things get it the way because you have not been able to see it. I had a clever idea to use two pivot points, one on each side of the bulkhead to equalize the leverages for the handbrake but when I looked the master cylinder would be in the way if it was fitted but now I have constructed a set of levers that should operate the handbrake with the lever in the cab just left of the steering column mirroring what a left hand drive 2CV would have.  Now to try to describe the lever mechanism. The main lever, that’s the one mounted on the chassis and operates the cables that pull the mini hand brake pads onto the discs. This lever is pulled on by flat steel plates that have a 90 degree bracket between the two that includes two pivot points. 

This was the third version I made up.


One horizontal and one vertical. The inner plate links up about half way along a flat plate bar that pivots just right of the battery and near the inner wing. It extends to where the handbrake mechanism protrudes through the bulkhead where another short plate links the plates to the handbrake lever. The hand brake lever has been rotated 90 degrees to get it at the right position by mounting it on 4 small brackets so that it can be bolted the underside of the parcel shelf. You might ask why do all of this? Well the donor cab had the parcel shelf cut to remove the ratchet mechanism for a kit car so that was repaired but I would have to refit a new mechanism.

My wife is quite petite and the handbrake operation on a normal 2CV  is quite a stretch so I did a cable operated set up in the Burton that just about works but I thought that something better could be achieved that would be effective. This system I have devised has about 1.6 times the leverage that is applied to the brake arm in the engine compartment. I can’t wait to see how effective it is.

Tuesday, 8 December 2020

Things for the Van


Things for the Van.


November 2020 has stalled progress in getting things done on the van. Covid and the weather has meant that fitting the body to the chassis has been postponed until friends and family can travel to give me a hand. It needs a bit of muscle power to lift the body on and off from one chassis to another to check fitting arrangements. I have been searching for bits I could do to move forward and come up with these things:-

Electronic ignition for the engine along with electronic oil pressure sensor oil temperature sensor.

Reversing light stalk and microswitch that is operated from the movement of the gear lever.

This is on the Burton


Cold air diverter boxes that fit on the heat exchangers and make provision to go from hot air to cool fresh air from the front of the car.

As fitted to the Burton


123 ignition along with other bits was ordered from Burton in the Netherlands and arrived in a few days with the other electronic bits. Ignition and pressure sensor were fitted quite quickly and tested. The wiring harness that goes through the cowling was also made and the engine still runs!

That was too quick so I then made the reversing light switch stalk fitted the long arm microswitch. This is fitted on the two bolts that span the left corner of the gearbox.


Now to the diverter boxes. This was about a week’s worth of work. Constructed from 57mm by 2mm aluminium tube, aluminium sheet 1m, 1.2 and 1.5 for most bits, that I had hanging around and some 3mm by 30mm strip for bearing and support material. Pop riveted together and epoxy resin for the other joining of parts. 4mm and 5mm button head screws. The 5mm screws were used as pivot points and screwed through a threaded portion to lock them in place. The 4mm screws secured the top plates to the body. I have drawings and dimensions if you want to make them yourself. They are quite effective in getting cool air into the cab when moving along. It helps even though the outside temperature was over 40 C on our way to Croatia last year. I also need to look at the heating and ventilation in the van during the rebuild. I have yet to make the control lever that will operate the diverters via a hard wire cables as used on the 2CV heater control mechanism. I want to make a pair of matching levers for vent and heating for the dash. To make more bits I need to get more materials. I am starting to get a list of things together that I want to make for the van.


August 2025

  August 2025   A few things I forgot from last month but need to be recorded in my things done one was repairing a bangle. The string h...